Latest Posts

THE AYVALIK MOSAIC – finally in Ayvalik fifth week

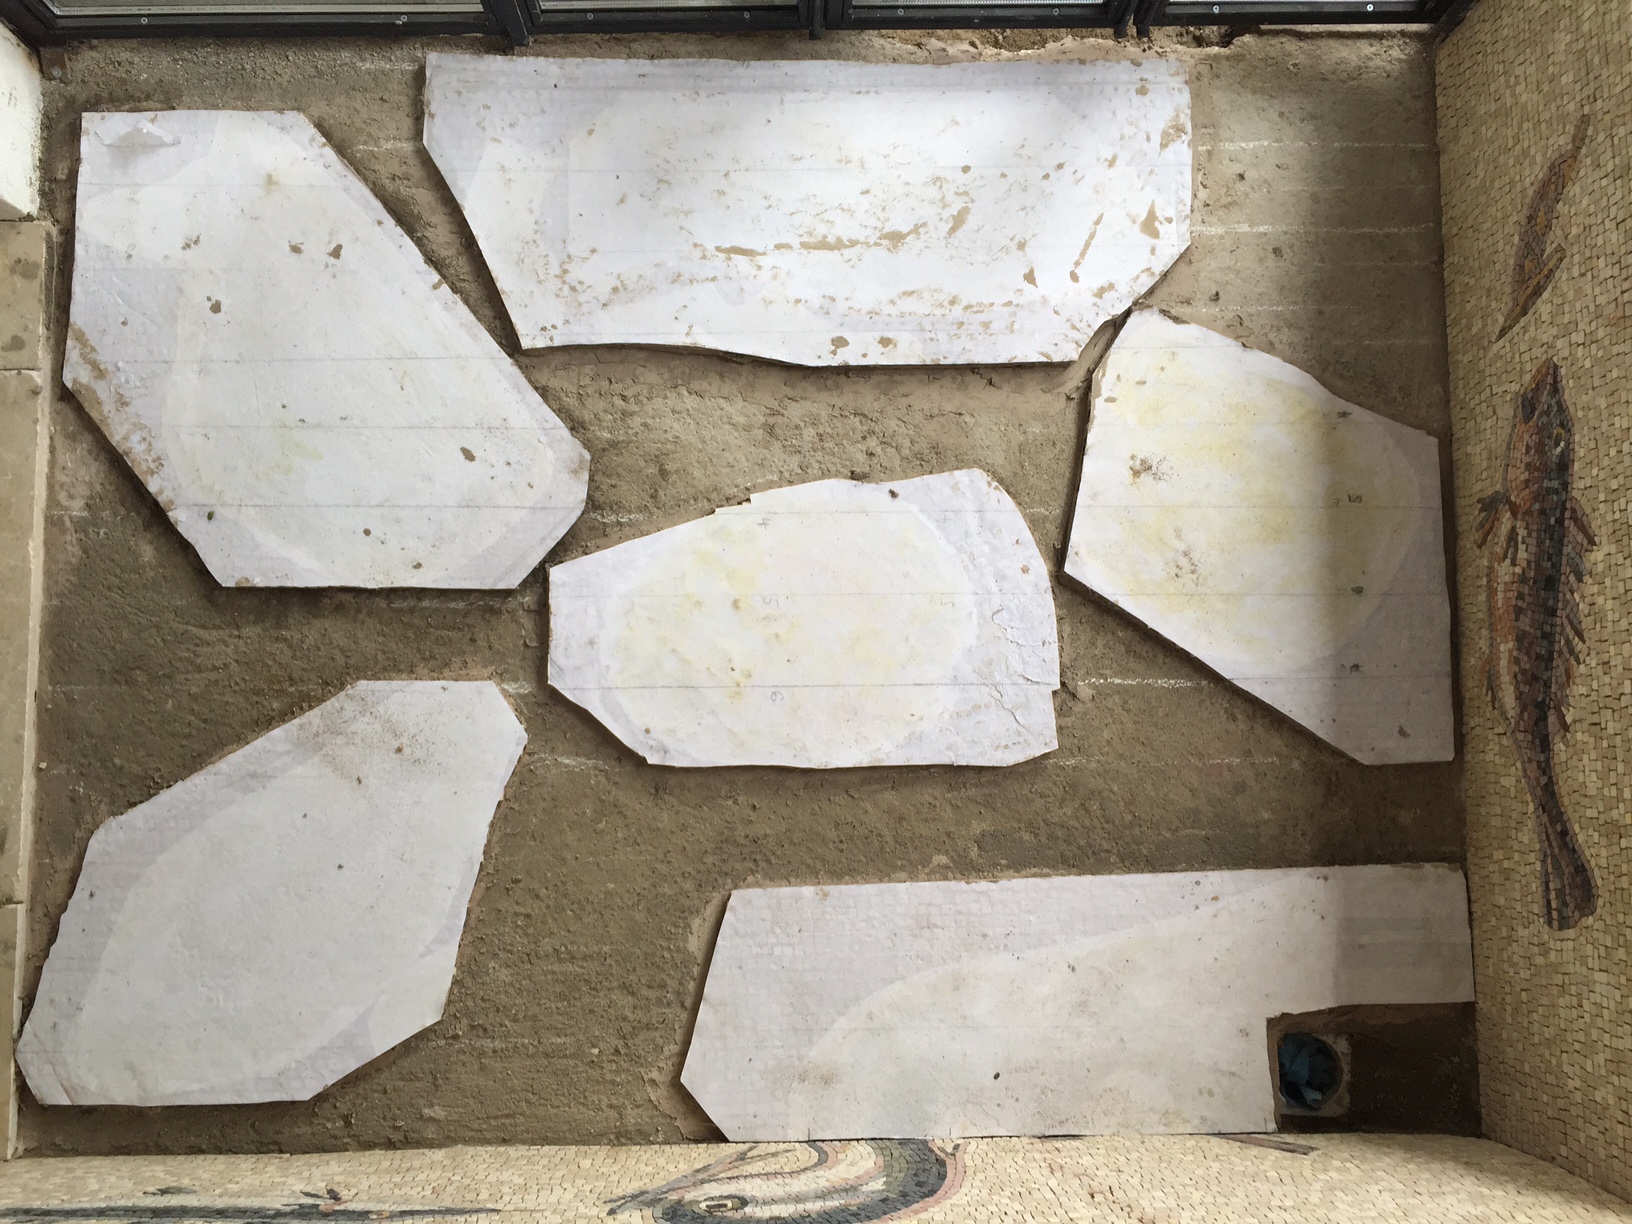
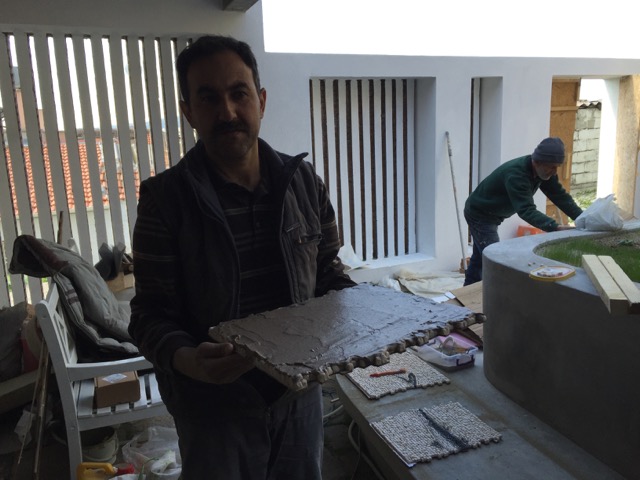
And there they came….

ready for the magic moment of uncovering the floor pieces!
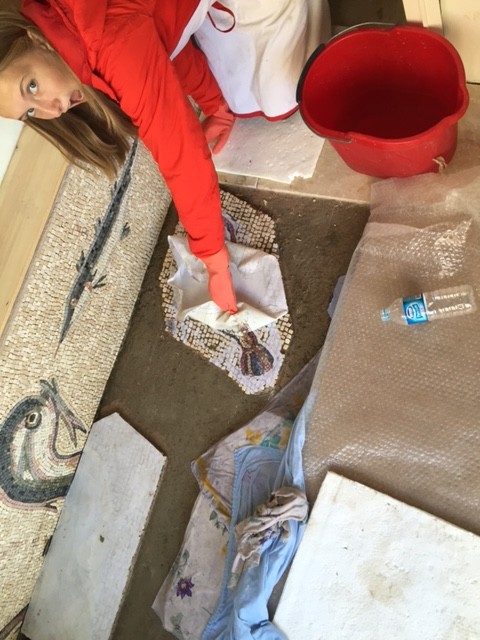
IMG_6792 IMG_6794

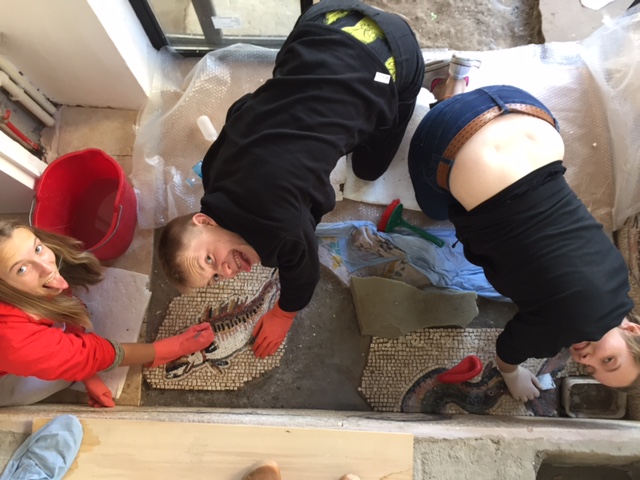
these figures were produced in August in Gaziantep and had been stuck on canvas since then. It was much harder to get the glue off then on the wall pieces. But with the enthusiasm and strength of 3 teenagers and a lot of very hot water and hard brushes we managed to remove all the glue within 2 hours.
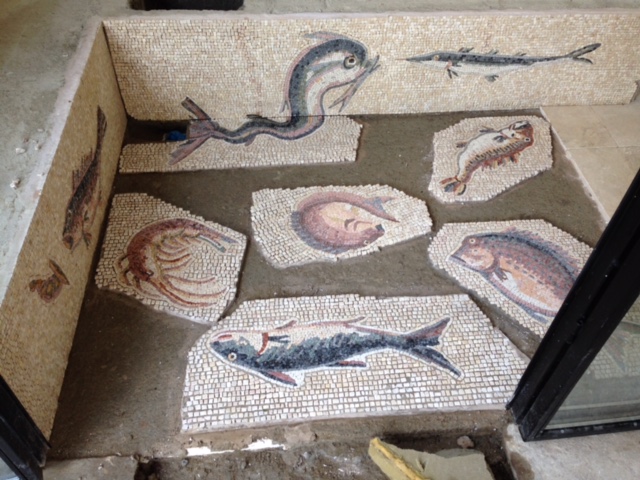
IMG_0142

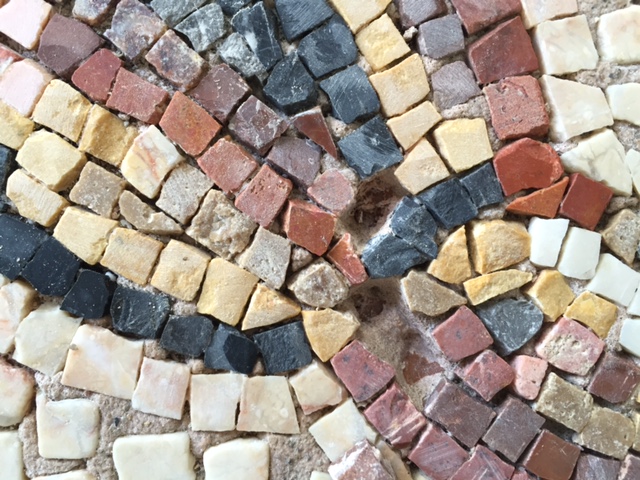
I was absolutely stunned how beautiful these figures came out. Almost all tesserae stuck in the cement. There were only a few single stones that were loose.
IMG_6815

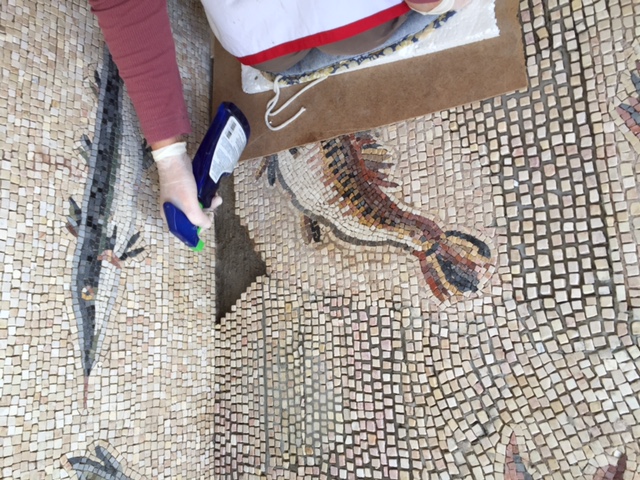
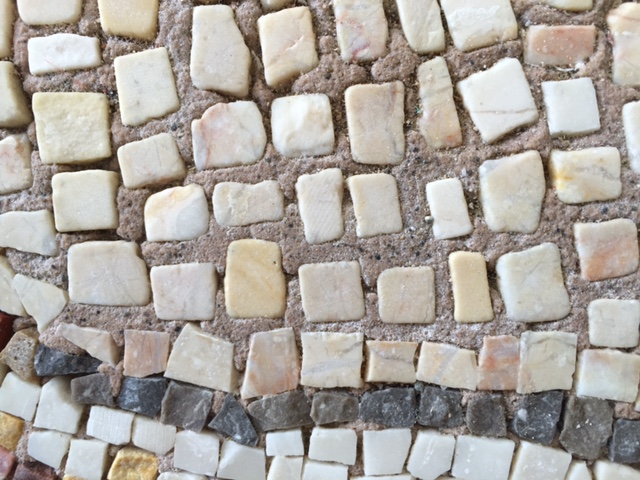
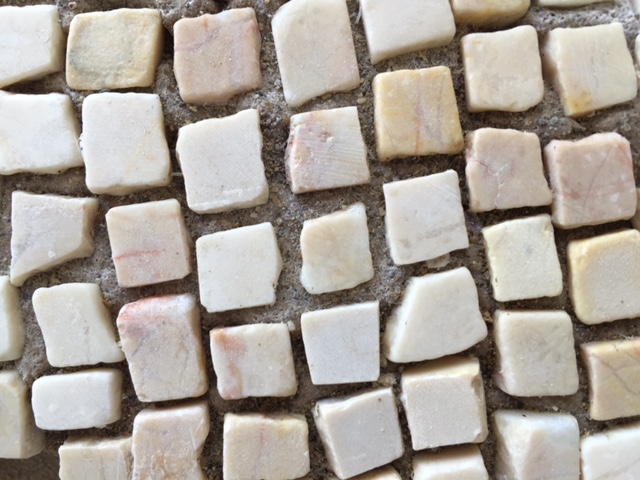
As you can see in the following pictures in the area of the figures where tesserae have been joined tightly together the cement did not get up to the surface. Whilst in the background area, where the spaces between the tesserae was left deliberately larger it mattered how much sand I applied for the cement to squeeze all the way up or to stay down and keep a grout line open.
IMG_6816

IMG_6817

I was afraid the tesserae wouldn’t stick well enough if the grout lines where only marginally filled with cement.

I must admit that at this moment again, I SO much regretted not to use traditional roman cement! In roman mosaics there is just ONE setting cement and no different materials are used for glueing and grouting. This works so much easier as one does not need to be afraid to keep grout lines open when putting tesserae down.

Another time consuming difficulty I created was to have added partly background tesserae to the fish figures.  This was not the original plan. I wanted to put just the figures down without any background tesserae and then apply the background directly on the floor. This would have given me more flexibility with the placing of the figures. It would also not have mattered in which direction they were looking.

But because the  building work in the room was not ready when I arrived for installation, I had to find a way to start with the background work in the studio.

Knowing about the difficulty that a background with lines would create , I contemplated to fill the spaces between the figures randomly and not use lines. But I  decided against it because I was afraid the figures would loose their expression if they would not be in a defined background.
IMG_0133

What shall I do with this whirly – twirly figure in the centre?

For filling the gaps between the figures I had 5 days. ( My time was limited, because I negotiated one month away from the family for the installation and I had taken a week extension. So I couldn’t possibly have extended again. Without the help of Berkan Karaduman, a young man that just moved from Istanbul to Ayvalik, I would not have managed it. I am very grateful!

We applied the following method:
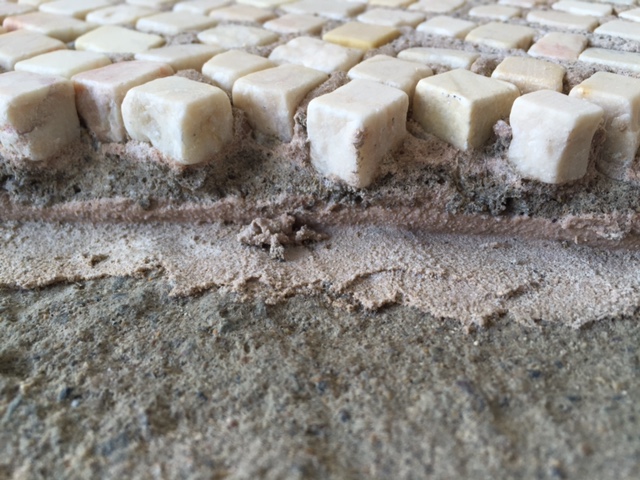
IMG_6814

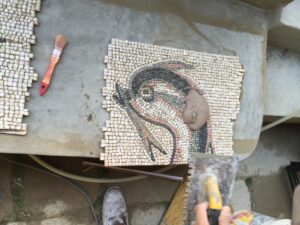
edges of the figures were cleaned of cement with hammer and a fine chisel
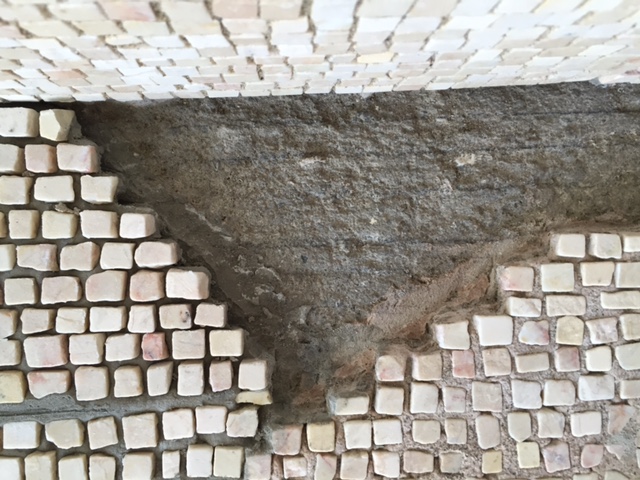
IMG_6829

IMG_6825

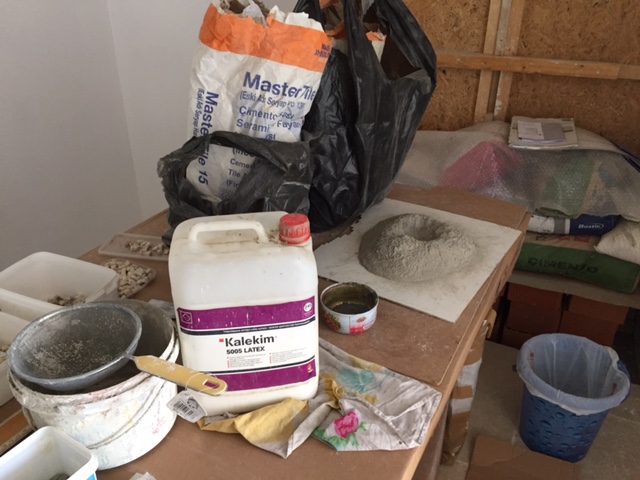
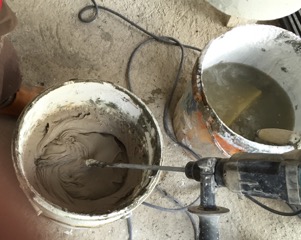
cement mixed out of white and grey tile cement mixed with 1:1 latex and water liquid like a cake dough mix
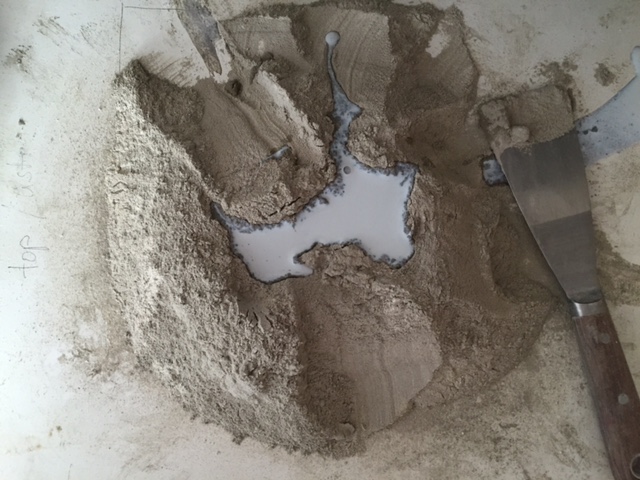
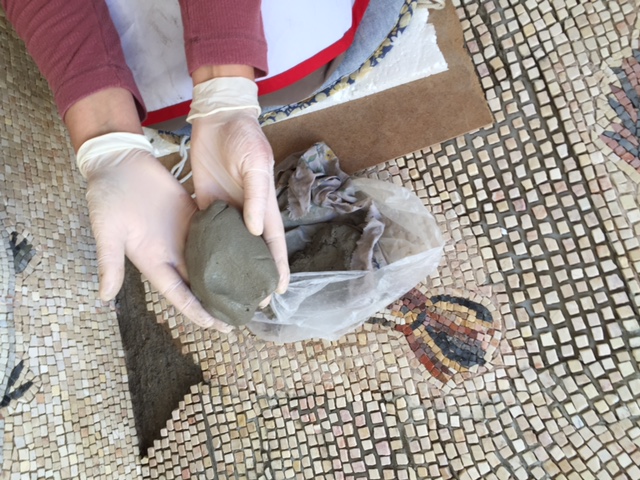
IMG_6856

IMG_6834

to the consistency of playdough

IMG_6832

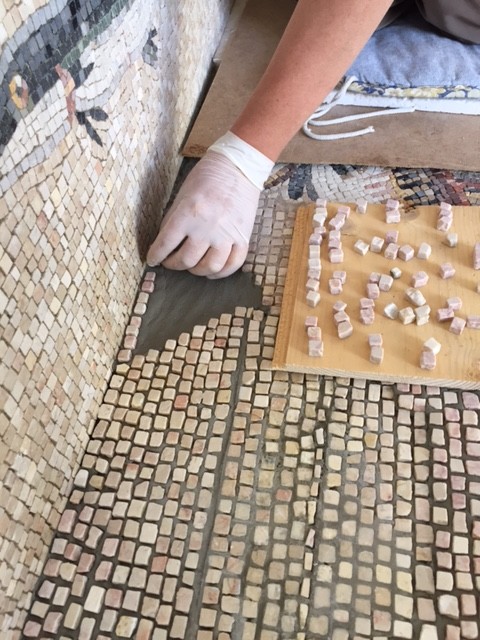
the gap was well wetted with a spray bottle
IMG_6851

pressed the cement into the gap and layd tesserae loosely onto it, then pressing it down to the level of the figure with a straight board

After working frantically patch by patch I was really questioning what we were doing. Putting the right amount of cement onto the floor so that the grout lines would still be a bit open but the cement would not squeeze to the surface was impossible to predict. I really questioned my ablilitys and regretted not having taken more lessons in working with this direct method on the ground or inviting a master over to help me putting this mosaic on the floor.

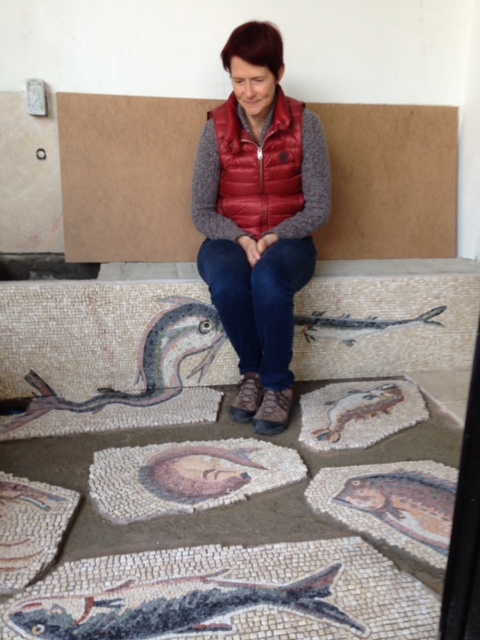
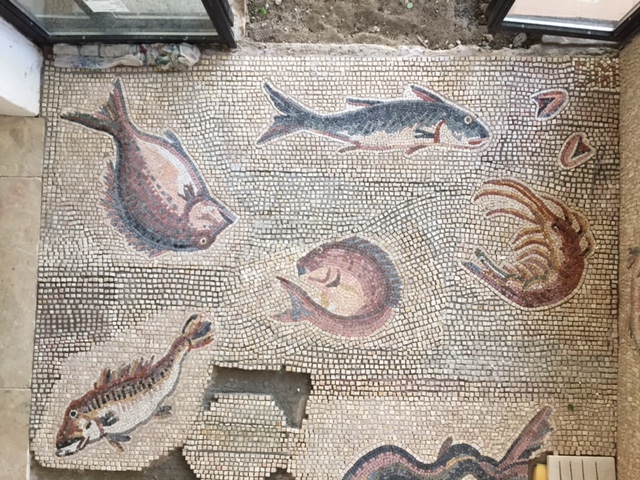
Only when I took this photo on day 3 I became much more relaxed. It did look good! Its so important to step back and look at a mosaic from far! Doing this on a floor mosaic is quite tricky. You have to climb up above it. Here I am standing on the 40cm high bench.
IMG_6818

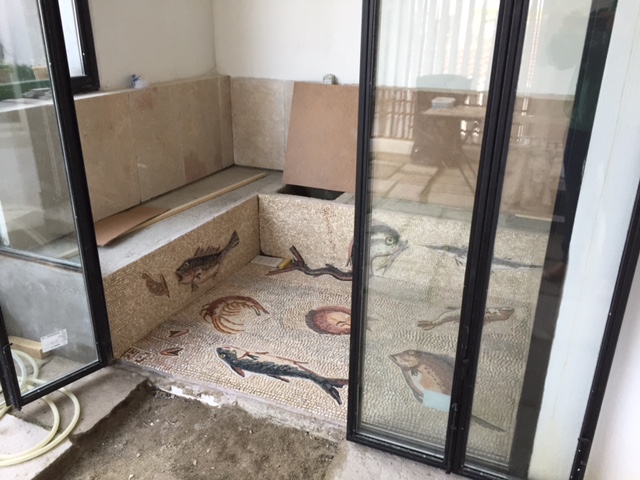
Almost done with the background!

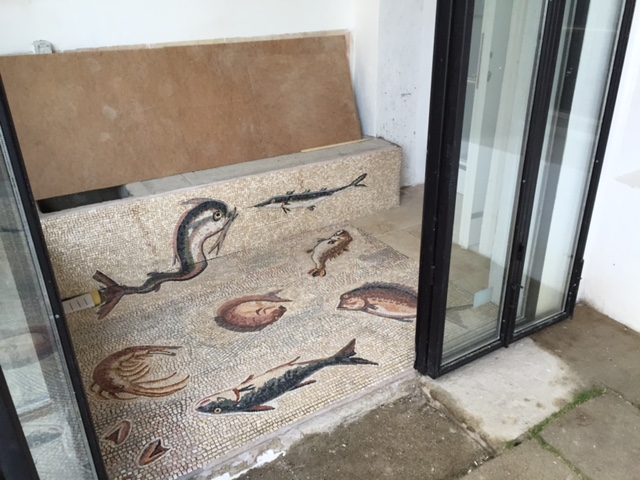
On Wednesday evening I put the last stone down. Thursday morning the tiler would come and put the grout down. Thursday night I would fl back to Brasilia. Just made it!
IMG_6864

the ungrouted AYVALIK MOSAIC

IMG_6866


THE AYVALIK MOSAIC – finally in Ayvalik fourth week

Hello – be prepared for the unveiling!

IMG_6672

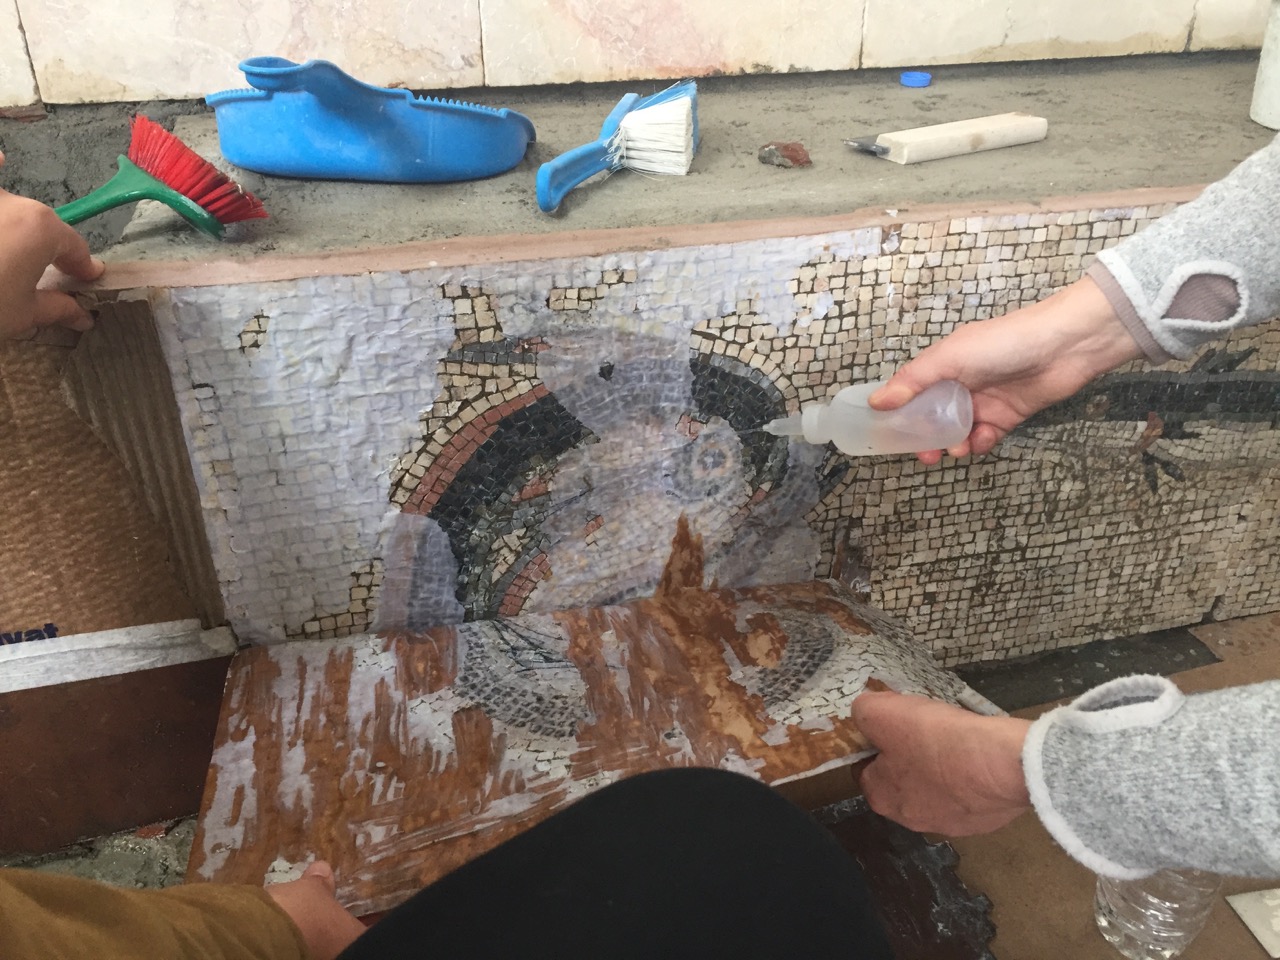
After48 hours of keeping the protective boards wet, one already fell off, revealing some beauty still lightly covered by thin paper

IMG_6676

remaining boards could easily be loosened from the top and hot water applied into the gap to soften the rest of the glue

IMG_6678

then with more hot water board and paper came off easily

IMG_6691

some of the glues used came off immediately with the paper, like in the very left of the picture, some stuck to the grout lines like rubber (middle)

With more  hot water, a scrub and the energy and enthusiasm of  Rifat Usta the remaining glue was removed.

The unveiling and cleaning of the wall took half a day of 3 people. The difficulty was to keep the surfaces wet and warm so the softened glue would not get cold  and dry and then stick to the tesserae again.

I am very satisfied by the result. Of course some tesserae came off.

IMG_6698I also left some deliberate gaps at the joints of the tiles for easy fitting. These we put back in one days work with liquidish tile cement which we squeezed into the cleaned holes and then stuck the prepared tesserae back..

Two days later, the figures for the floor were installed.

(Be prepared for more technical description.)

At this point I want to thank tiling master Yusuf and our foreman Rifat again for their patience to understand what I could only communicate in very limited vocabulary. They really took to the project and used their knowledge flexibly to adapt it to this very special task.


IMG_6707

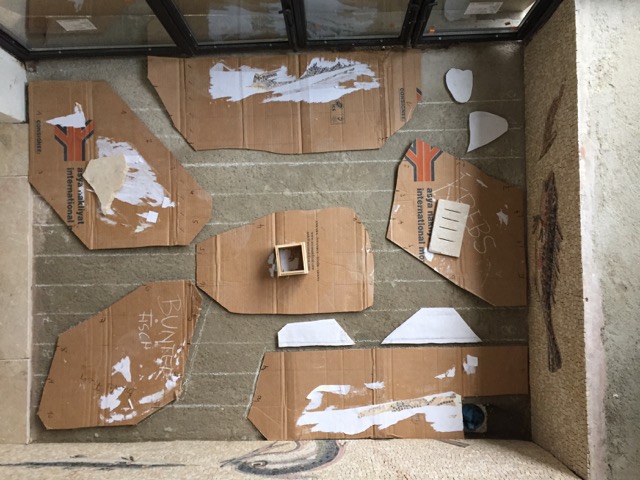
I prepared the floor like this. The cardboard pieces simulate the figures. On the backing of the figures I head drawn the lines that you see here on the floor. This way the figures could be placed in line. It worked well for the installation. But it took me several sleepless nights to come up with this.

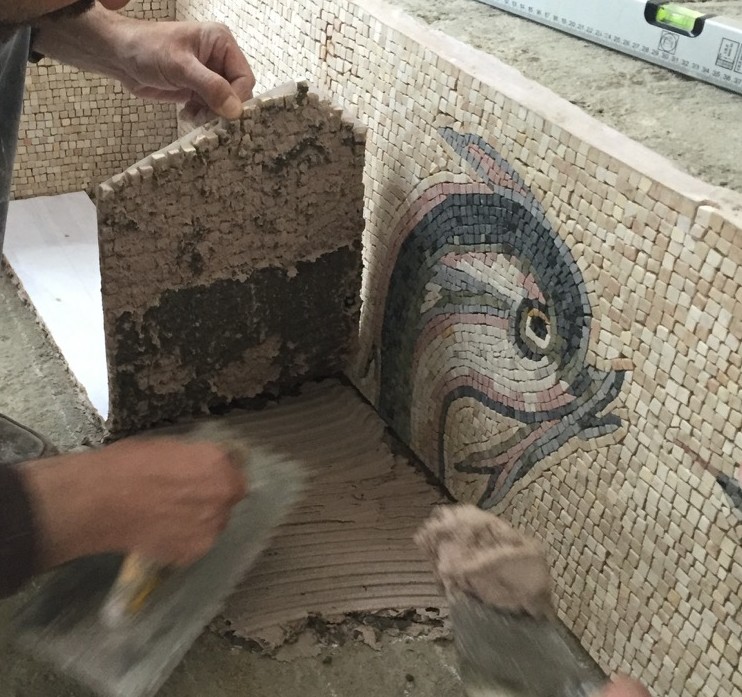
The installation of the floor pieces  went in similar steps then the wall.

IMG_6716

first I put sand into the grout lines. This time I did not fill them quite as much as on the wall pieces as I wanted more cement to enter the grout lines for more stability. In the end people will walk over the mosaic.

IMG_6721

then Yusuf added the tile cement (again mixed to the same color then the grout)

IMG_6726

after he added a layer of ordinary cement to add weight and press the tile cement into the grout lines (cement was mixed with a latex water solution )

IMG_6724

Then he spread tile cement on the floor exactly inside the outline of the figure on the floor

IMG_6746

turning the heavy and wobbly piece of mosaic upside down onto the slap was a bit tricky. But after 2 figures we became skilled!

IMG_6730

and the soft cover allowed to take the mosaic partially up and add more cement because the floor had to be leveled to allow for the water to run into the drain in the corner

IMG_6729

first piece set

IMG_6752

after 3 hours it looked like this. If you zoom in you can see the lines on the backing of the pieces in line with the lines on the floor

Today I had a rest to let the cement dry. At 4pm I wetted the pieces well with water, covered them with cloth and covered this again with a plastic sheet in order not to dry out over night.

It is raining heavily at the moment. This will help to keep them moist. Tomorrow afternoon I am planning to remove the protective sheets with my family.  You will read about it in the next blog.

I have been in Ayvalik on my own for 4 weeks now. Which was good in order to fully concentrate on finishing the building site and installing the mosaic.

IMG_6704

But there have been nights when I looked at the moon and was longing for the company of my loved ones.

THE AYVALIK MOSAIC – finally in Ayvalik – third week
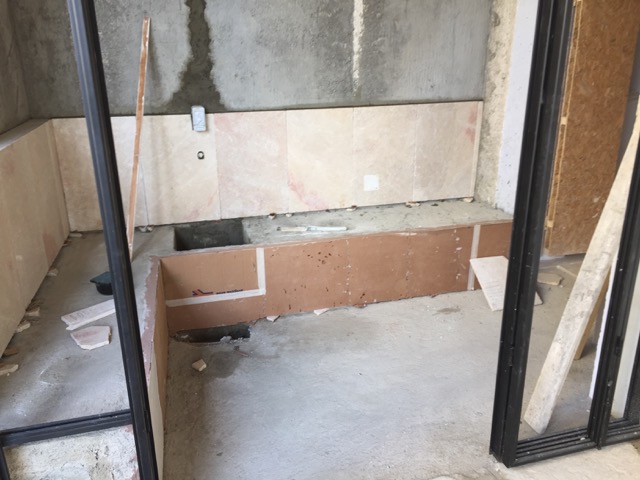
I did it – the wall parts of the mosaic were installed on Thursday. I find help in a very experienced tiling master. Please see it step by step:

IMG_6613

for the tiles cement we mixed 2 parts of white and 1 part of grey BASF Mastertile 15  tile cement with about 1 cup of terra-cotta pigments dissolved in water,

IMG_6624

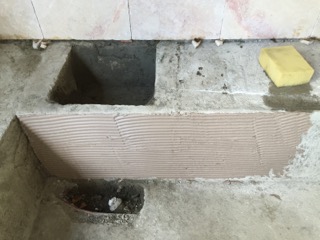
applying cement to the wall of the hamam bench

IMG_6618

the mosaic tiles laid our near the place that they gonna be installed

sieving a little bit of dry sand with a fine sieve over the mosaic in order to close the grout lines so that the cement can not fill the grout lines completely

sieving a little bit of dry sand with a fine sieve over the mosaic in order to close the grout lines a little bit so that the cement can not fill them completely.


IMG_6629

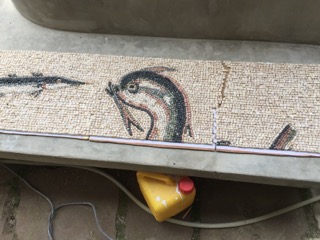
applying tile cement to the part with the dolphins head

IMG_6630

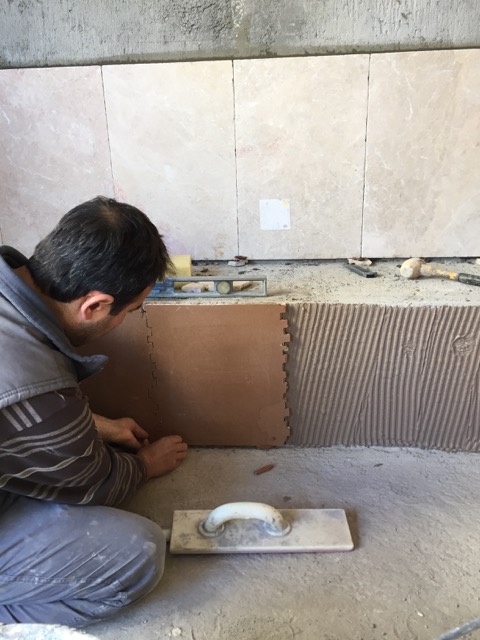
Yusuf is a great tiler with a lot of patience. Without ever having worked with this technique he did an excellent job in putting all the tiles exactly fitting into each other in place. And he was not disturbed by my nervousness…

IMG_6634

putting the tiles exactly next to one another  and in the right hight

IMG_6631

Yusuf exercised great care to join the tiles on their puzzle like edges


IMG_6625

The first tile sticks

We mixed terra cotta pigments with water and mixed that with 2 parts white and 1 part grey BASF master tile 15 tile cement

Ready! On Sunday I will wet them and hopefully take the boards away on Monday.